Showing posts with label Refinishing. Show all posts

Monday, December 3, 2012

What Our Office Really Looks Like

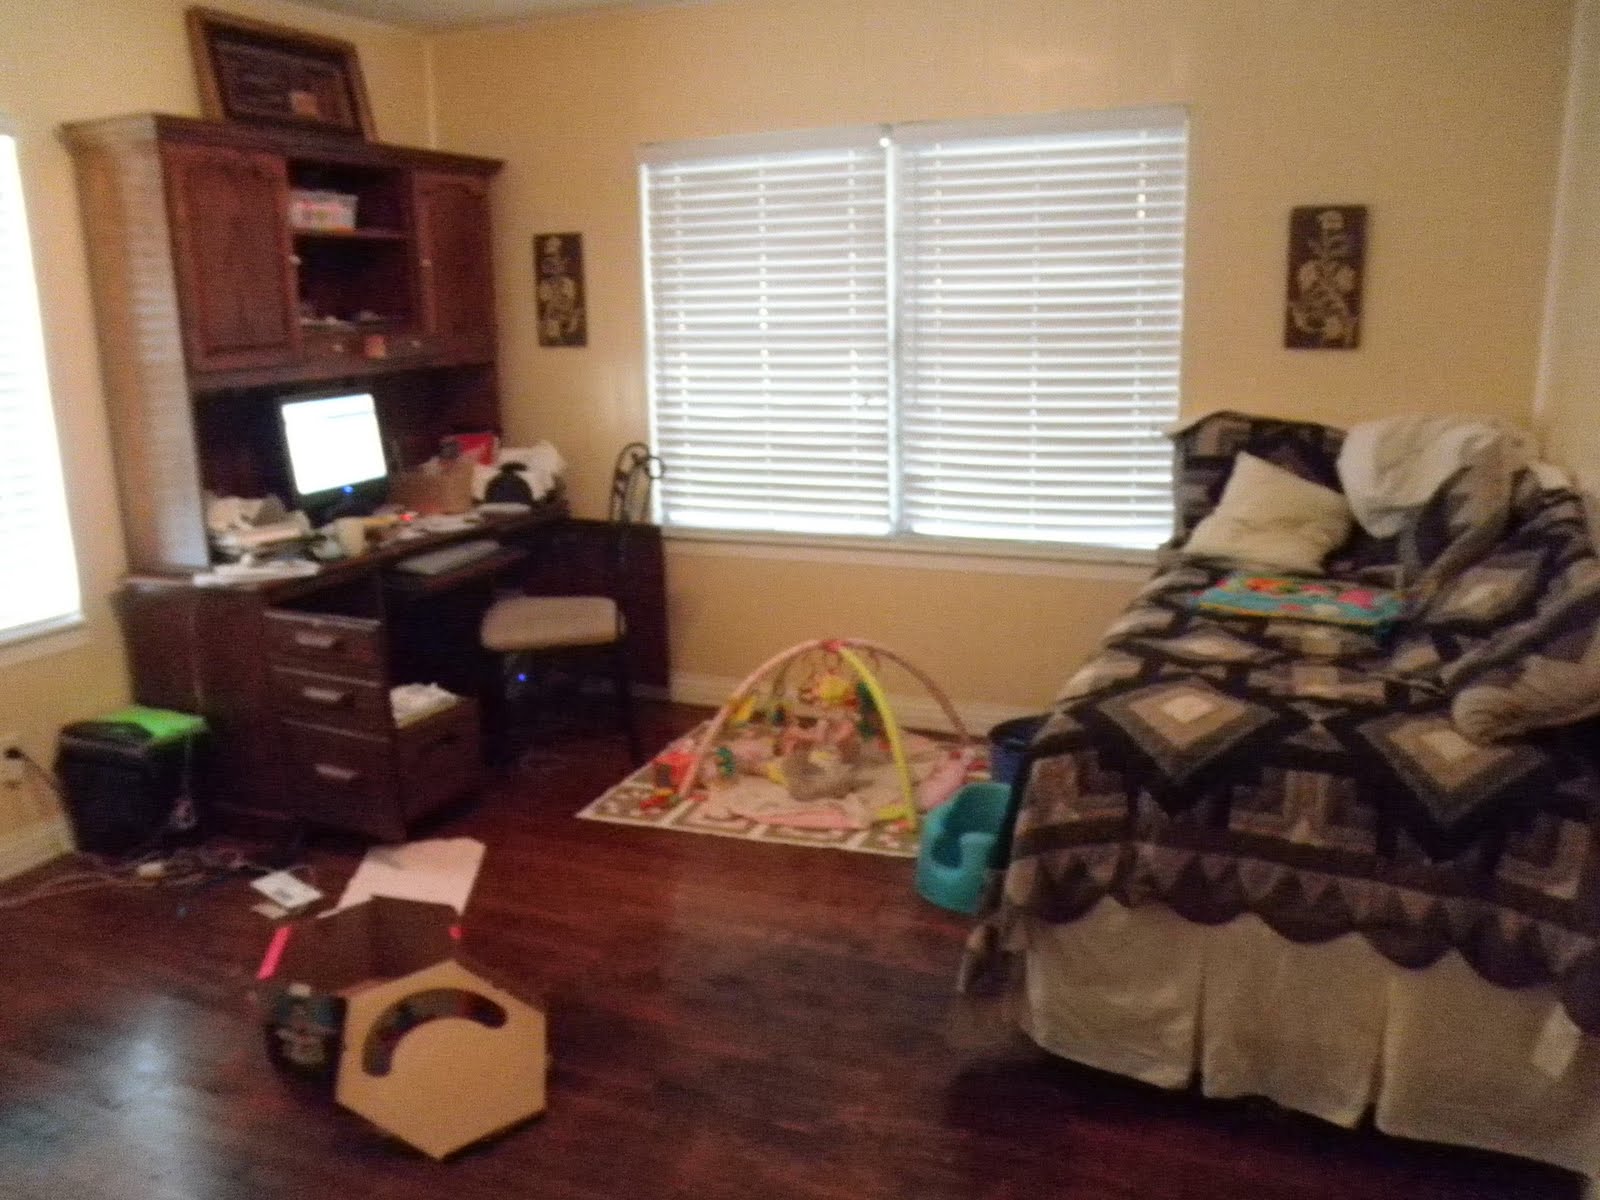
So I've left out a little tidbit on here for a while now.  The last time I showed you our office, it looked like this:
That picture of Madison is still our wallpaper..it's been Christmas all year!


 Sorry for the even worse than usual picture quality...I guess I had my camera set to low quality, probably so I could Craigslist something.

I hated almost everything about this room.  The bed jutting out and being the first thing you saw from the door made the room look smaller than it is-it's actually the largest bedroom in our house.  The bookshelf was not great quality (laminate), not safe (it leaned against the wall...we could have bolted it down if we liked it, but not-so-much).  The desk being stuffed in a corner made being on the computer not fun at all.  The desk itself, even though it was a very nice piece of furniture, was super dark and heavy-feeling.  It was also literally heavy.  Just ask Pat and the two guys that came to buy it.  (With Patrick lifting one side and two men lifting the other, his back hurt the next day!)

Obviously we sold the desk.  We also sold the bookshelves and bed, leaving the room empty except for Madi's toys and our computer on the ground.  So here's the (not at all finished) reveal:

Here's what we've done so far:
  • Sold everything (clearing out the room)
  • Bought a futon ("Emily" from Walmart...love it)
  • Built a desk (and painted it blue BECAUSE WE CAN)
  • Moved Madison's nursery rug into the office (because it's so nice and plush, but we never play in her room)
And here's what's yet to be done:
  • Paint the walls (probably a soft grey so I can call myself a real blogger, haha)
  • Replace the light fixture
  • Address window treatments
  • Build a console for under the desk (to hold/hide the PC, file box, and other ugly but necessary desk things)
  • Finish refinishing the two desk chairs we already have (which you've never really seen)
  • Untangle and hide all the cords
  • Convince Patrick we don't need a printer
  • Sew Madison a poof cover to contain all her stuffed animals (the huge pile in the corner by the futon)
  • Hang real art (what's on the walls is literally only there because I didn't want to find space in a closet and the nails were already there)
  • Replace the missing closet door knob
  • Find a thrifted or free tv table (but not for a tv) for the wall across from the futon (the one on your right when you come in the door) for additional toy/office storage and a place for Madison to draw/color
  • Cover the fronts of Madison's diaper toy boxes (under the futon) with fabric
Phew!  Between this room, Christmas gifts, and DIY Christmas decor, I am SOOOOOOO overwhelmed with projects right now.  But I'm also really excited for what I hope will be a great result. 

Are you overloading your (metaphorical) plate right now?  (Do you spend more time talking parenthetically than not?)  Do you have any soft grey (gray?) walls in your home?  Does all this talk about grey make you curious about the next episode of Grey's?

Happy Monday!
-Kelli

Thursday, September 15, 2011

At Long Last...

Madison's nursery finally has a side table.  Here's what we were working with before:
 Just before Madison was born, I ran across this solid wood side table FREE on Craigslist, and it just happened to be on Pat's way home from work!
 It wasn't exactly what I had in mind for the space, but it fit our budget beautifully, so we decided to work with it.  As you can see, it had the whole "X" thing going on on top,
 which wouldn't have been a problem, except that my plan was to paint it.  And you're supposed to paint (and sand, and stain, and anything else you might do to wood) with the grain.  But I was not about to spend 547 tedious hours doing this the "right way", so I improvised; I just picked a direction (one of the diagonals) and stuck with it, for sanding, priming, and painting.  First, I broke out Pat's random orbital sander:
Since the plan was to paint it, I didn't need to get all the way down to raw wood; I just needed a smooth, roughed up finish.  Confused?  What I mean is I needed to sand out any irregularities (think bumps or scratches) while scuffing up the finish enough to give the primer something to stick to.  Now that that's clear as mud...I used 100 grit sandpaper, and it worked pretty well.  Here it is all sanded, wiped down, and ready to prime.
 See how the finish doesn't look even?  That's okay; I just had to make sure I sanded through the varnish everywhere, which I did.  You won't be able to tell it's not sanded evenly once it's done, I promise.  I coated it with one thin coat of primer I've always used Zinsser water-based primer, but I've recently heard good things about their oil-based version, and might try that next time.  Or after I run out of primer.  Which, at this rate, will be somewhere around spring 2049.  Anyway, here's my table after that thin coat of primer.  It still looks uneven, and that's okay.  We really just wanted something to give the paint to stick to.
 After priming the table, I could see that there were some cracks around the tabletop that would not look pretty once it was painted.  I caulked them (don't judge my amateur caulk line, I can usually do a lot better than that):
 and smoothed it out.  No more crack!  Which is great, 'cause crack is whack.  Sorry, I couldn't stop myself.  At least I didn't go the plumber direction.  Oops, I guess I kinda just did.  Moving on:
 After letting the caulk dry and taking a well deserved break to read a few chapters of Green by Ted Dekker (great read, by the way), I applied the first coat of paint.  I used leftover creamy white paint from Madison's dresser (which is also what I used for this table.)
 Three coats later, it looked pretty good.  I let it sit outside for five days, hoping for most of the toxic nastiness to dissipate, and finally brought it inside to its new home:
It's not perfect for the space; I think a round table would fit in a little better, but the price was right!  Who knows?  Maybe Craigslist will offer up another free table that works even better.  For now, I'm going to try to work with it - we're taking this one day at a time.  We may even grow to love it!

 Cost Breakdown:
Table: $0
Sander/Sandpaper: $0 (already on hand, but I did use up a sheet of sandpaper, so I guess about $1)
Primer, Paint, and Paintbrush: $0
Grand Total: $0 (or $1 if you want to get all legalistic on me)

What do you think?  Have you scored any great free items on Craigslist (or anywhere else, for that matter)?  Have you tried using oil-based primer before?  Is it as great as "they" say?   Have you cracked (har-har) any good plumber jokes lately?

-Kelli

PS-We did go to meet Audrey yesterday, and she's beautiful!  Unfortunately, I was too infatuated to remember to snap a picture.  Dope!